अगर आपने अभी-अभी अपना blog बनाया है तो सबसे पहला काम है उसे Google Search Console में add करना। बिना इसके Google को पता ही नहीं चलेगा कि आपकी website exist करती है — और आपके articles कभी rank नहीं होंगे।
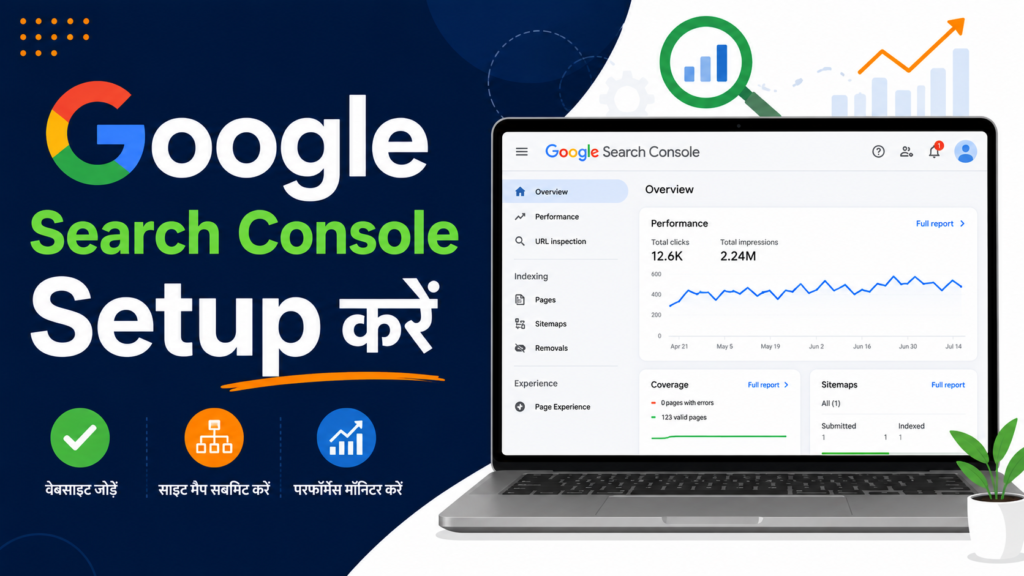
Google Search Console एक free tool है जो Google खुद provide करता है। इससे आप देख सकते हैं कि Google आपकी website को कैसे देख रहा है, कौन से keywords से traffic आ रहा है और क्या कोई error है।
Google Search Console क्या है?
Google Search Console (GSC) एक free webmaster tool है जो आपको यह जानने में मदद करता है:
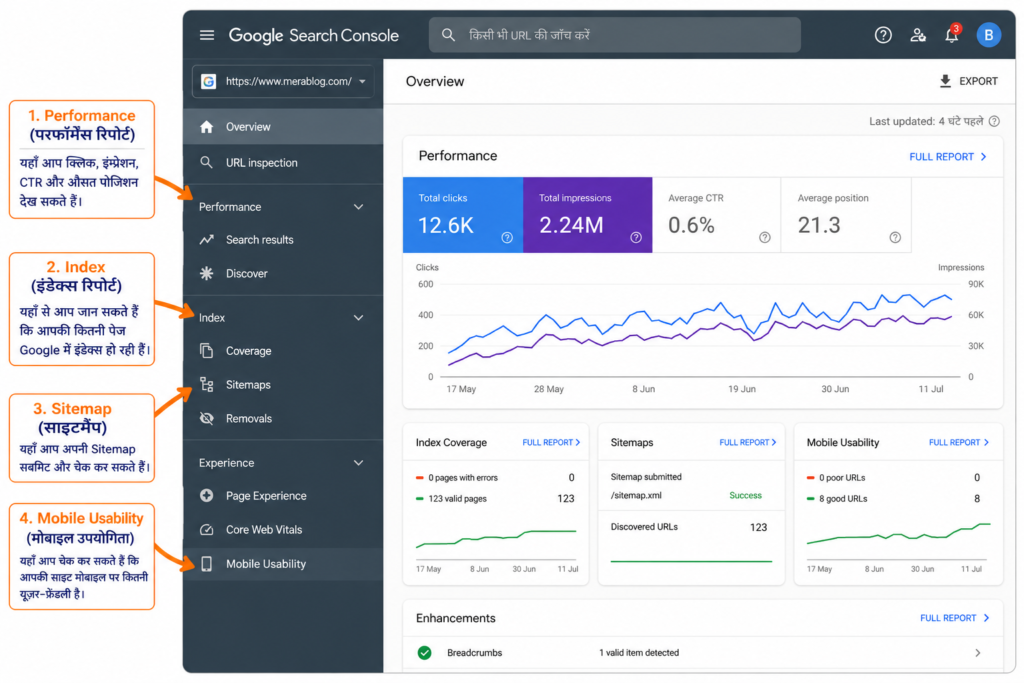
- Google ने आपकी website के कितने pages index किए हैं
- कौन से keywords से लोग आपकी website पर आ रहे हैं
- आपकी website में कोई technical error तो नहीं
- कौन सी websites आपको backlinks दे रही हैं
- Mobile usability issues
Google Search Console के फायदे
| Feature | फायदा |
|---|---|
| Index Coverage | देखें कि कितने pages indexed हैं |
| Performance Report | Keywords और clicks की जानकारी |
| URL Inspection | किसी specific URL को check करें |
| Sitemap Submit | Google को sitemap submit करें |
| Core Web Vitals | Website speed और experience check करें |
Google Search Console में Website कैसे Add करें?
Step 1 — Google Search Console खोलें
अपने browser में search.google.com/search-console Open करें और अपने Gmail account से login करें। वही Gmail use करें जो आपकी website से related हो।
Step 2 — Property Add करें
Login के बाद आपको “Welcome to Google Search Console” screen दिखेगी। यहाँ आपको दो options मिलेंगे:
- Domain: आपकी पूरी website (www और non-www दोनों)
- URL Prefix: Specific URL जैसे
https://www.yoursite.com
Recommendation: Domain option चुनें — यह सबसे comprehensive है।
Step 3 — Website का URL Enter करें
Domain field में अपनी website का URL enter करें जैसे karanlehar.com और “Continue” पर click करें।
Website Verify कैसे करें?
Google Search Console में website add करने के बाद उसे verify करना पड़ता है — यह proof देने के लिए कि website आपकी है।
Verification के 4 तरीके हैं:
तरीका 1 — DNS Record (Best Method)
यह सबसे reliable method है। इसमें आपको अपने domain registrar (GoDaddy, Namecheap) के DNS settings में एक TXT record add करना होता है।
Steps:
- Google Search Console से TXT record copy करें
- GoDaddy login करें → DNS Management → Add Record
- Type: TXT, Name: @, Value: copied TXT record
- Save करें और Google Search Console में “Verify” click करें
तरीका 2 — HTML File Upload
Google एक HTML file देता है जिसे आपको website के root folder में upload करना होता है।
तरीका 3 — HTML Meta Tag
एक meta tag मिलता है जिसे website के <head> section में add करना होता है। WordPress में Yoast SEO plugin से यह आसानी से हो जाता है।
तरीका 4 — Google Analytics
अगर आपकी website पर Google Analytics already लगा है तो उससे automatically verify हो सकता है।
👉 पूरा guide: On-Page SEO कैसे करें — Complete Checklist हिंदी में
Sitemap कैसे Submit करें?
Website verify होने के बाद सबसे पहला काम है Sitemap submit करना।
Sitemap एक XML file होती है जो Google को बताती है कि आपकी website पर कौन-कौन से pages हैं।
WordPress पर Sitemap कैसे मिलेगा:
- Rank Math plugin:
yoursite.com/sitemap_index.xml - Yoast SEO plugin:
yoursite.com/sitemap_index.xml
Sitemap Submit करने के Steps:
- Google Search Console में left sidebar में “Sitemaps” click करें
- अपना sitemap URL enter करें
- “Submit” click करें
URL Inspection Tool कैसे use करें?
नई post publish करने के बाद उसे Google को manually submit कर सकते हैं:
- Google Search Console में “URL Inspection” click करें
- अपनी नई post का URL paste करें
- Enter दबाएं
- “Request Indexing” click करें
इससे Google उस page को जल्दी index करेगा।
👉 External resource: Google Search Console Help
Common Errors और उनके Solutions
Error 1 — Page Not Indexed
कारण: Google ने page crawl नहीं किया
Solution: URL Inspection से “Request Indexing” करें
Error 2 — Crawled but not indexed
कारण: Content quality कम है या duplicate content है
Solution: Content improve करें और original content लिखें
Error 3 — Mobile Usability Issues
कारण: Website mobile-friendly नहीं है
Solution: Responsive theme use करें
Conclusion
Google Search Console हर blogger के लिए एक must-have tool है। इसके बिना आप blindly काम करते रहेंगे — न पता चलेगा कि traffic कहाँ से आ रहा है, न यह कि website में कोई problem है।
आज ही अपनी website को Google Search Console में add करें और sitemap submit करें — यह आपके blogging journey का सबसे important पहला कदम है।
FAQ
Q1. Google Search Console free है?
हाँ, यह बिल्कुल free tool है। Google इसे सभी website owners के लिए provide करता है।
Q2. Verification में कितना समय लगता है?
DNS verification में 24-48 घंटे लग सकते हैं। HTML file method तुरंत काम करती है।
Q3. क्या एक Gmail से multiple websites add कर सकते हैं?
हाँ, एक Google account से unlimited websites add कर सकते हैं।
Q4. Sitemap submit करना ज़रूरी है?
Technically ज़रूरी नहीं लेकिन strongly recommended है — इससे Google जल्दी index करता है।
Q5. Google Search Console और Google Analytics में क्या फर्क है?
Search Console बताता है कि Google आपकी website को कैसे देखता है। Analytics बताता है कि visitors आपकी website पर क्या करते हैं।